Hi Friends!
How are you all doing? Its quite cloudy here today. We may have heavy rains in a day or two due to low pressure.
Today I am sharing a simple Thank You Card. This card was made in one of my classes for demonstration. I usually prefer easy to make simple cards.

The base of the card is a very light pastel coloured card stock. I have used floral printed paper from JAGS
I love this light coloured floral printed paper.But only thing is the size of print is big and can only be used for bigger sized cards.At least that is what I feel.

For the insert, I have used two different shades of green coloured paper. Actually the colour of the top layer of the insert matches the floral printed paper. But here in the photo it looks a different shade.
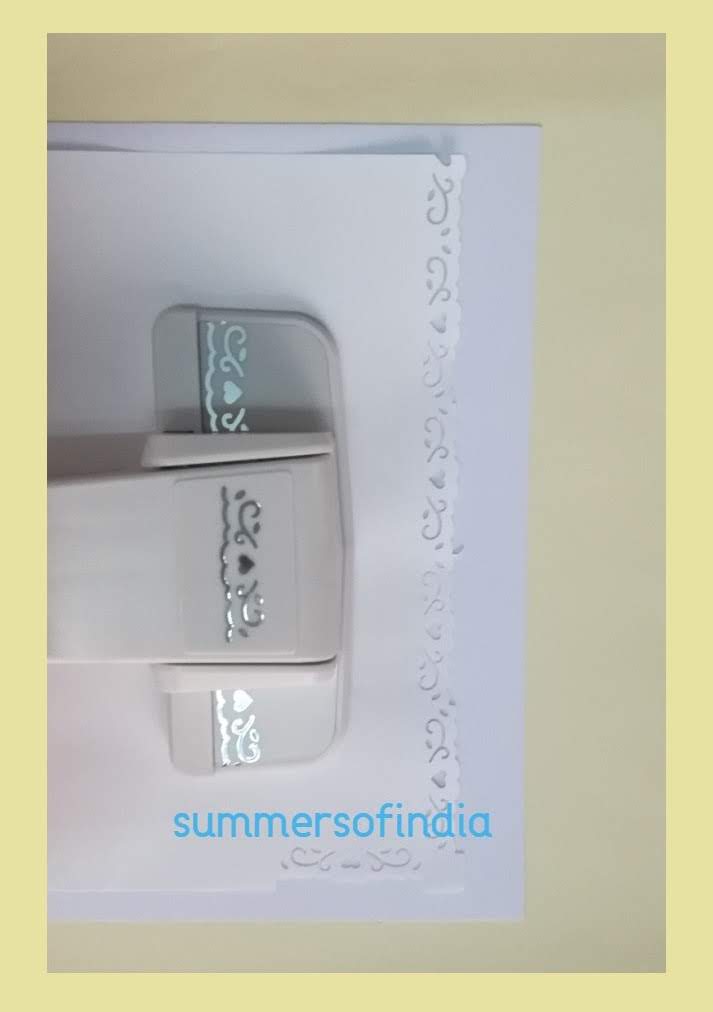
This card has a plain white envelope.
Hope you like this card. Watch out for more...
Materials Used:
- A4 size light yellowish green pastel coloured Card Stock
- White Card Stock scrap
- A4 size JAGS printed paper pack W&M CPPS15
- Sizzix Framelits Circles and Labels Stitched Dies
- Sentiment Stamp
- Black Ink
- Light Green Ink
- Glue, dimensional Dots
- Light Green papers of two different shades for insert
- Corner Punch Flower design